PDPA
การแก้ไขข้อมูล
หากข้อมูลบัญชีของคุณไม่ถูกต้อง คุณสามารถอัปเดตหรือแก้ไขได้โดยใช้ลิงก์ด้านล่าง
การโอนย้ายข้อมูล
คุณสามารถใช้ลิงก์ด้านล่างเพื่อดาวน์โหลดข้อมูลทั้งหมดที่เราจัดเก็บและใช้เพื่อประสบการณ์ที่ดีขึ้นในร้านค้าของเรา
การเข้าถึงข้อมูลส่วนบุคคล
คุณสามารถใช้ลิงก์ด้านล่างเพื่อขอรายงานที่จะมีข้อมูลส่วนบุคคลทั้งหมดที่เราจัดเก็บไว้สำหรับคุณ เราจะตอบกลับภายใน 30 วัน
สิทธิที่จะถูกลืม
ใช้ตัวเลือกนี้หากคุณต้องการลบข้อมูลส่วนบุคคลและข้อมูลอื่นๆ ของคุณออกจากร้านค้าของเรา โปรดทราบว่ากระบวนการนี้จะลบบัญชีของคุณ ดังนั้นคุณจะไม่สามารถเข้าถึงหรือใช้งานได้อีกต่อไป
สิทธิในการจำกัดการประมวลผล
คุณสามารถขอจำกัดหรือระงับการประมวลผลข้อมูลส่วนบุคคลของคุณชั่วคราวได้ภายใต้เงื่อนไขบางประการ กรุณาติดต่อเราที่ support@povmounts.com เพื่อขอความช่วยเหลือ
สิทธิในการคัดค้าน
คุณมีสิทธิคัดค้านการประมวลผลข้อมูลบางประเภท รวมถึงการตลาดทางตรงหรือการประมวลผลตามผลประโยชน์อันชอบธรรม สามารถติดต่อเราเพื่อยื่นคำคัดค้านได้ที่ support@povmounts.com
ข้อมูลการติดต่อ
สำหรับคำถามเกี่ยวกับข้อมูลส่วนบุคคลหรือสิทธิความเป็นส่วนตัวของคุณ กรุณาติดต่อเจ้าหน้าที่คุ้มครองข้อมูลส่วนบุคคล (DPO) ของเราที่:
อีเมล: support@povmounts.com
ที่อยู่: VIa Giuseppe Garibaldi 104, 95046 Palagonia Catania, Italy
สิทธิในการร้องเรียน
หากคุณเชื่อว่าเรายังไม่ได้จัดการกับข้อกังวลของคุณ คุณมีสิทธิยื่นเรื่องร้องเรียนต่อหน่วยงานคุ้มครองข้อมูลส่วนบุคคลในประเทศของคุณ
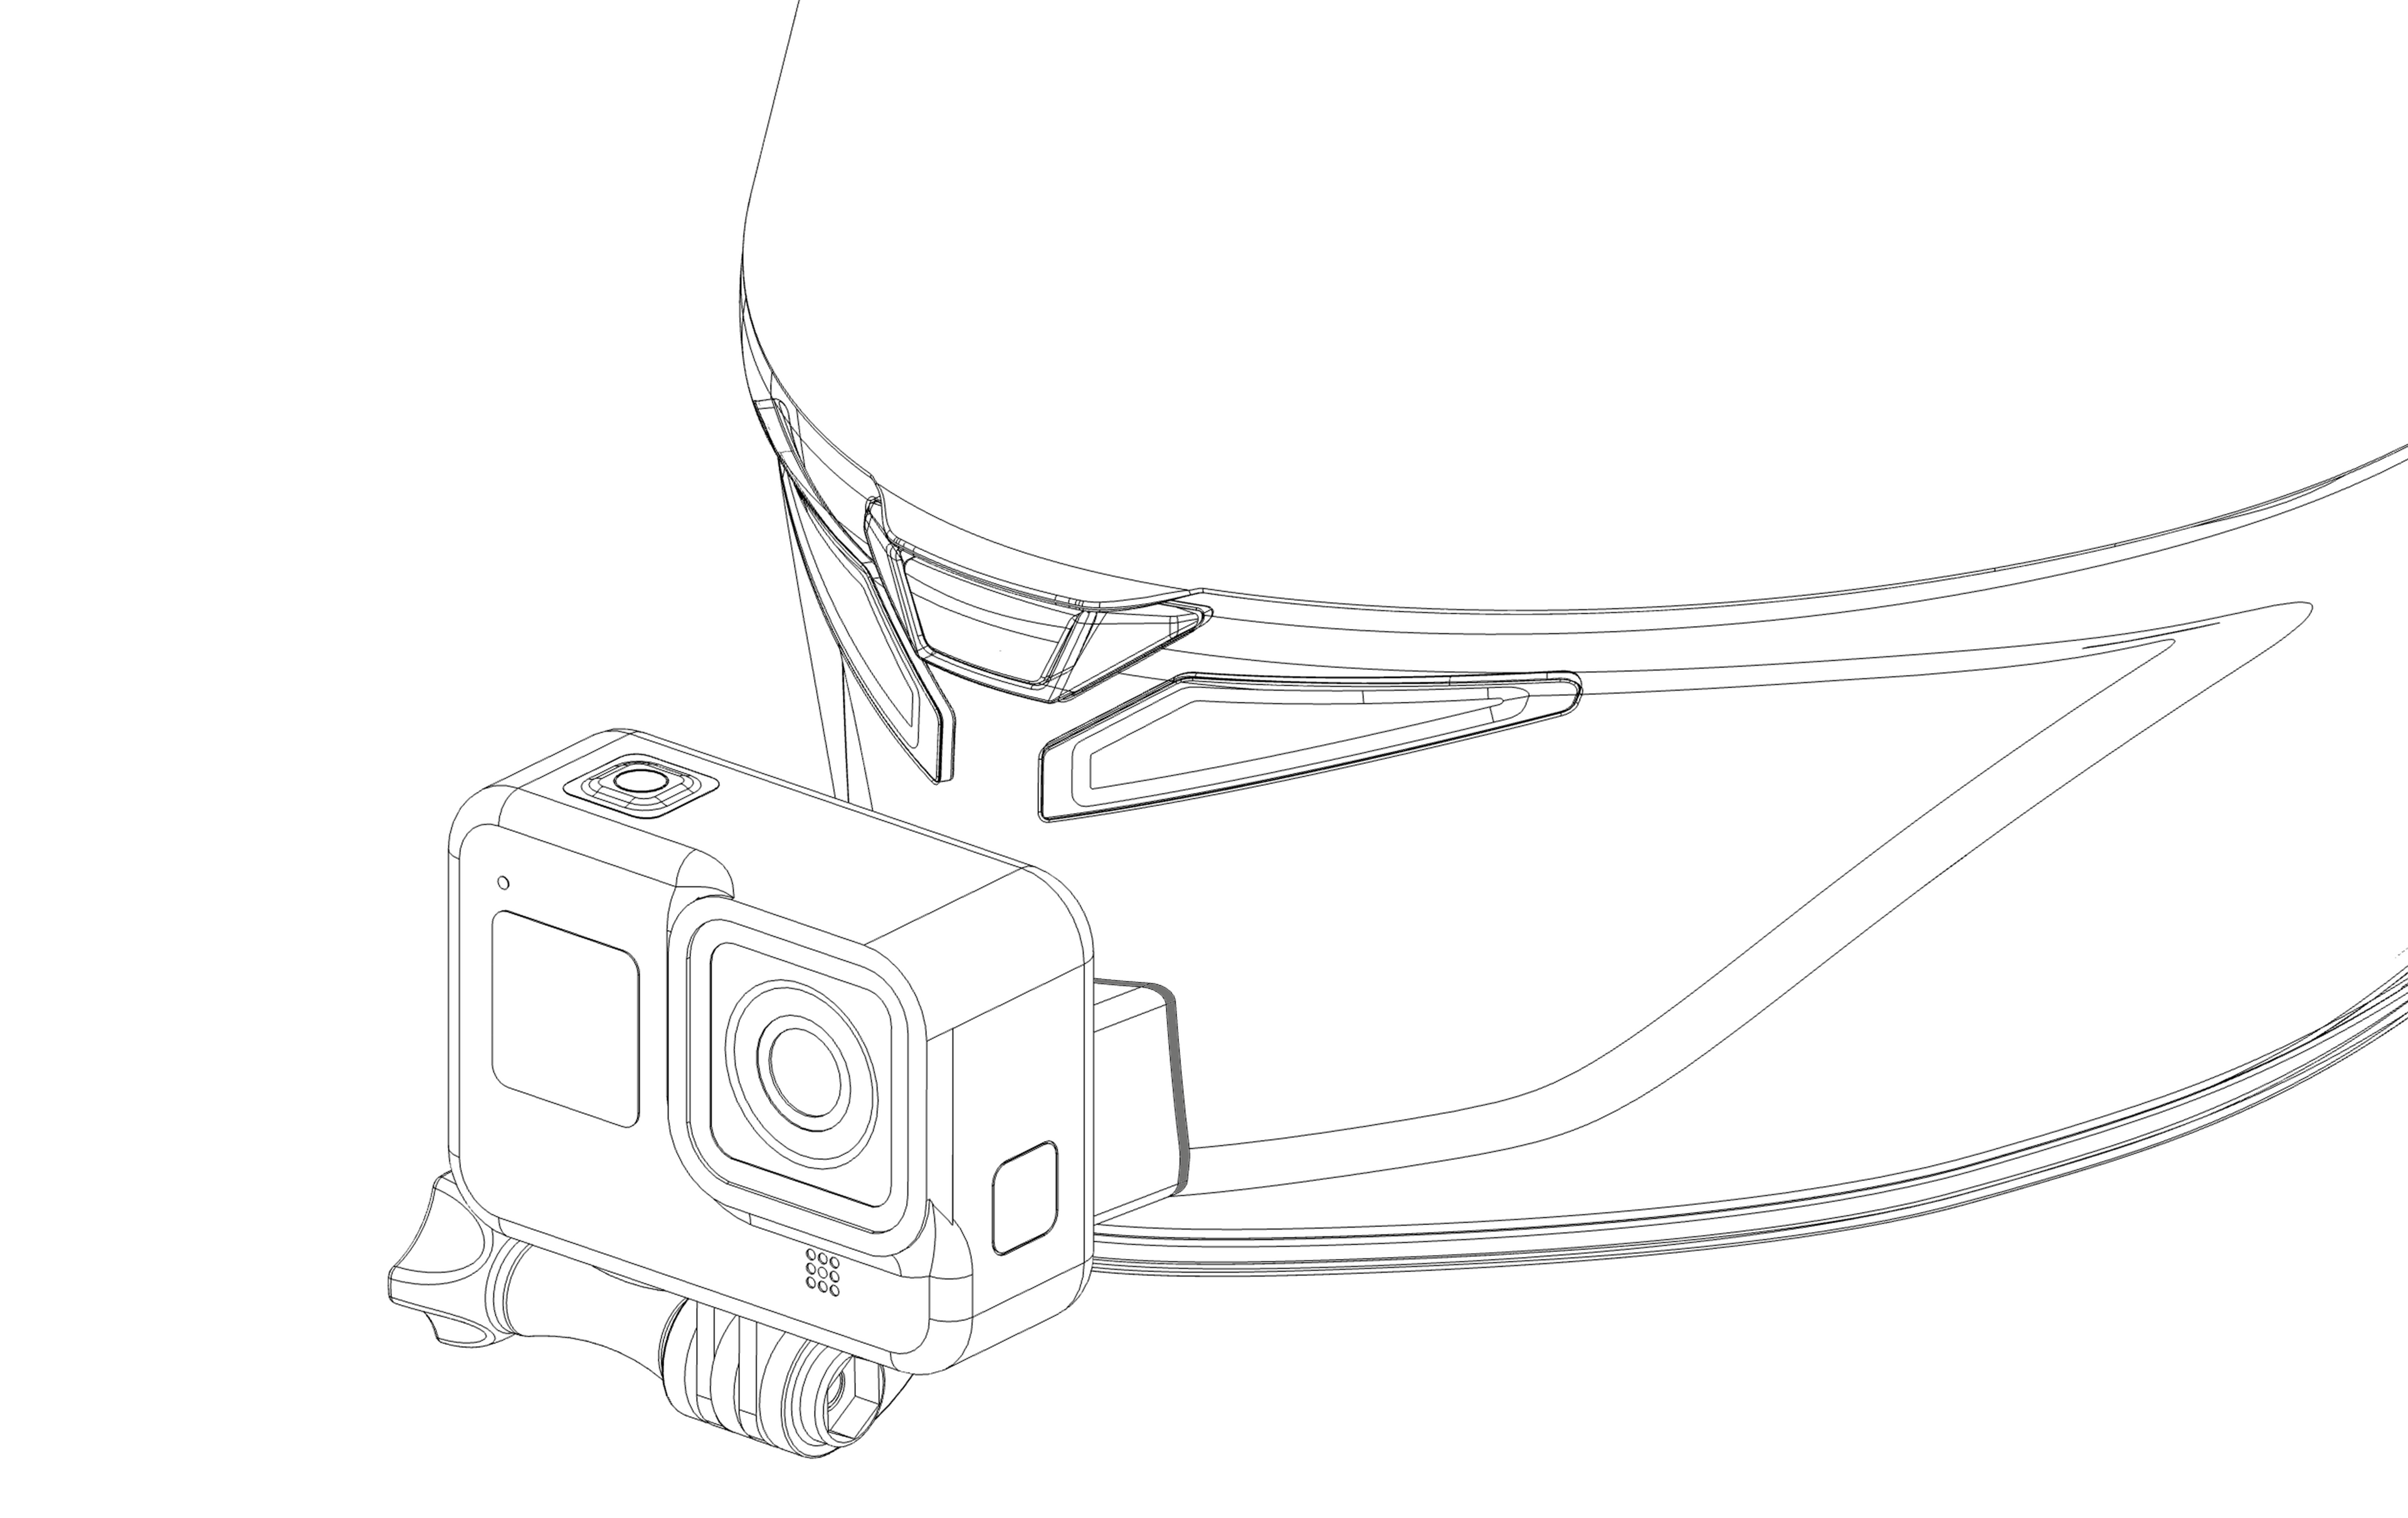
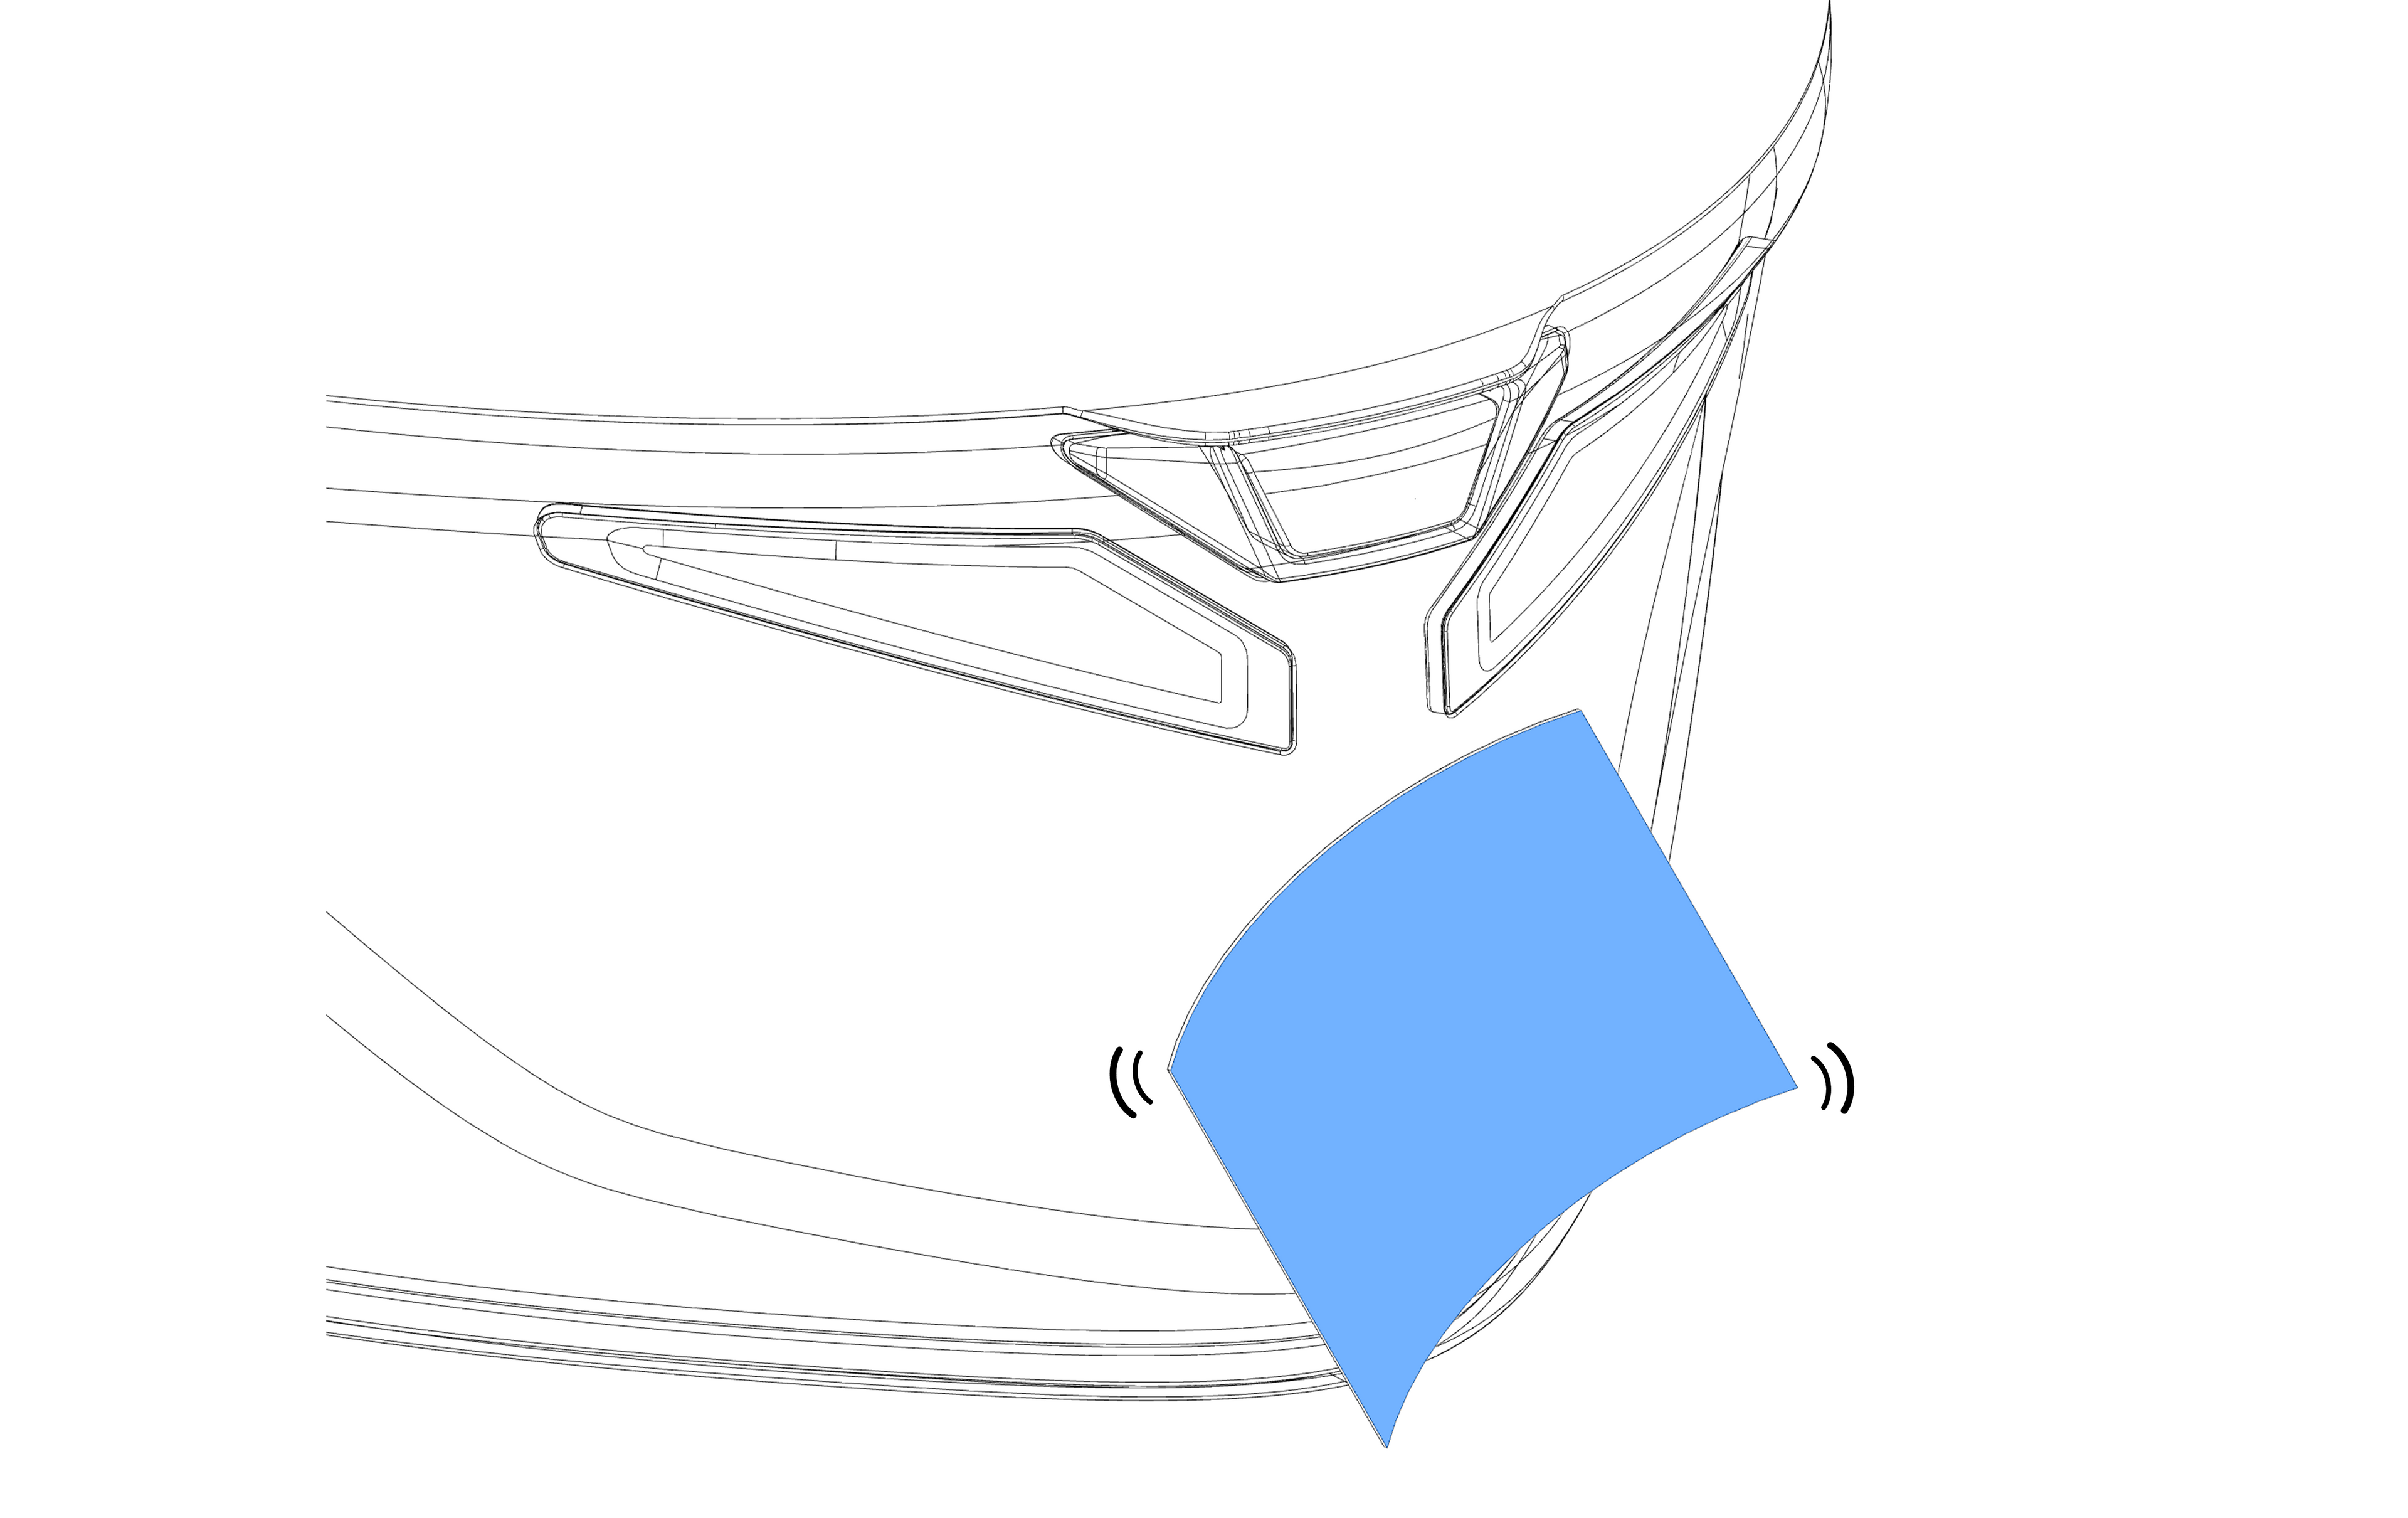
Step 1
⚠️ Different sizes of the same helmet may result in some variations in position compared to the photos.
✅ Make sure that the chosen position allows the perfect adaptation of the 3M™ VHB™ adhesive.
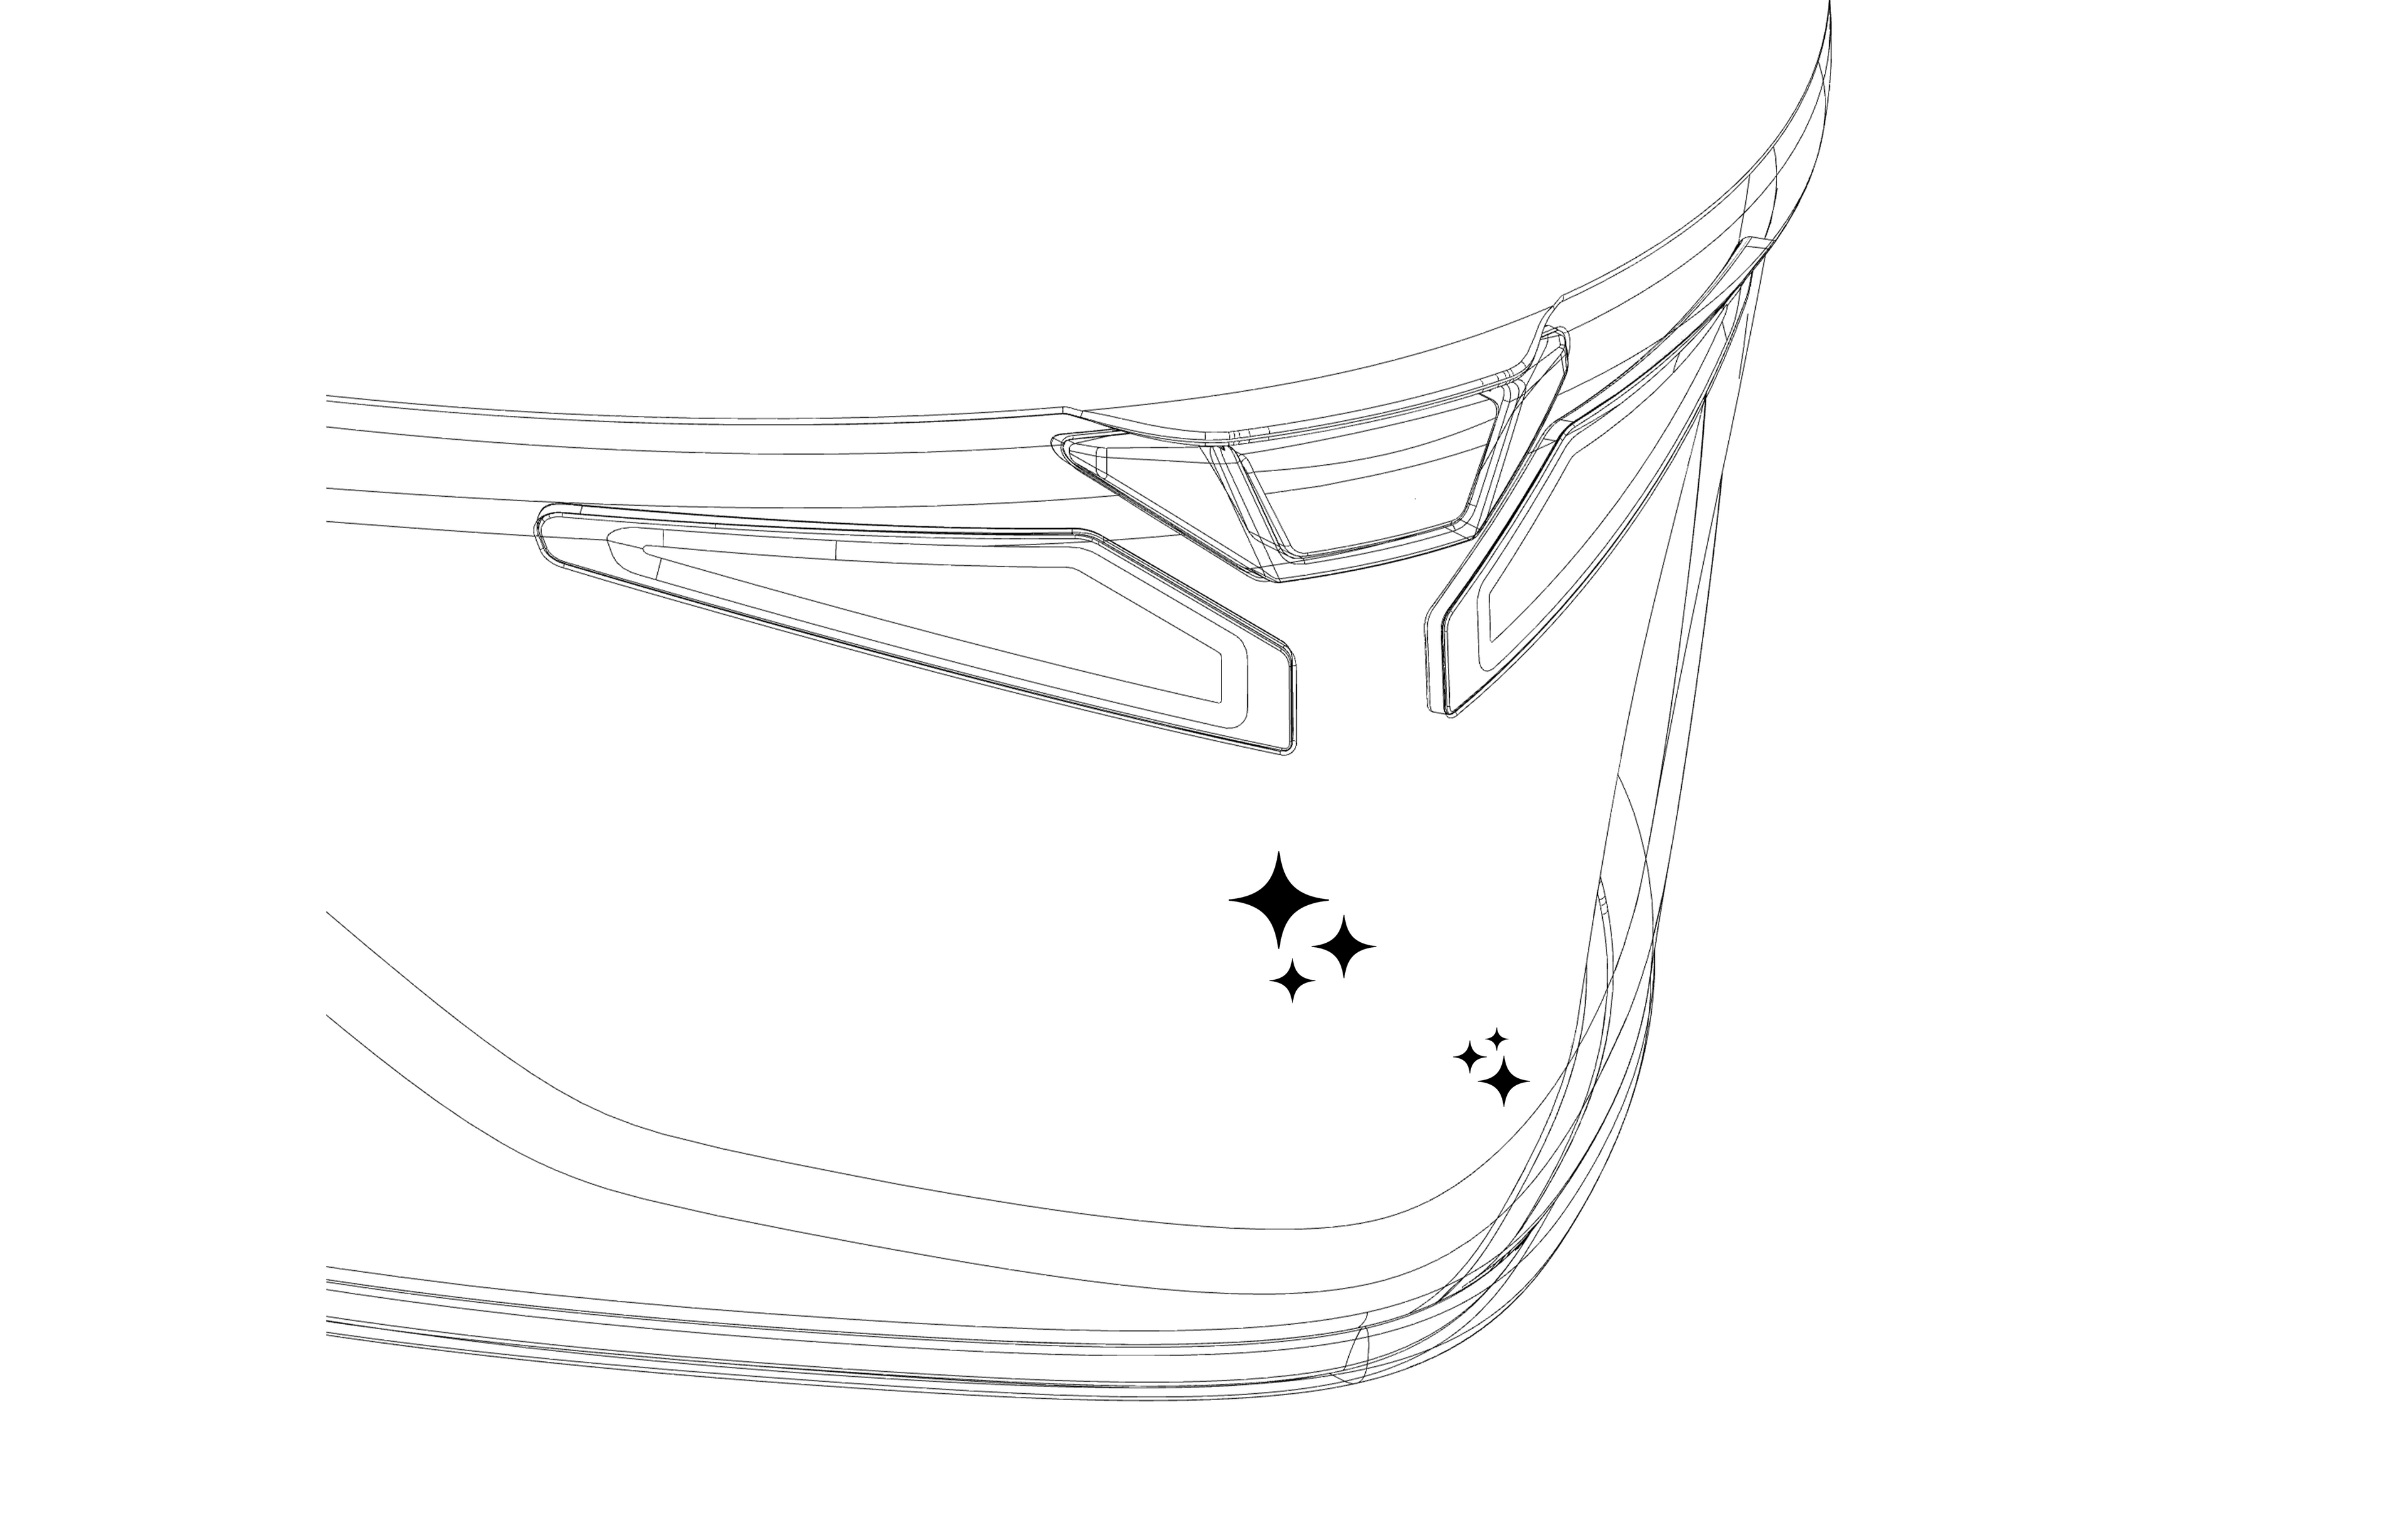
Step 2
⚠️ Dirt residues could compromise the adhesion of the mount to the helmet.
✅ Make sure to remove all traces of dirt.
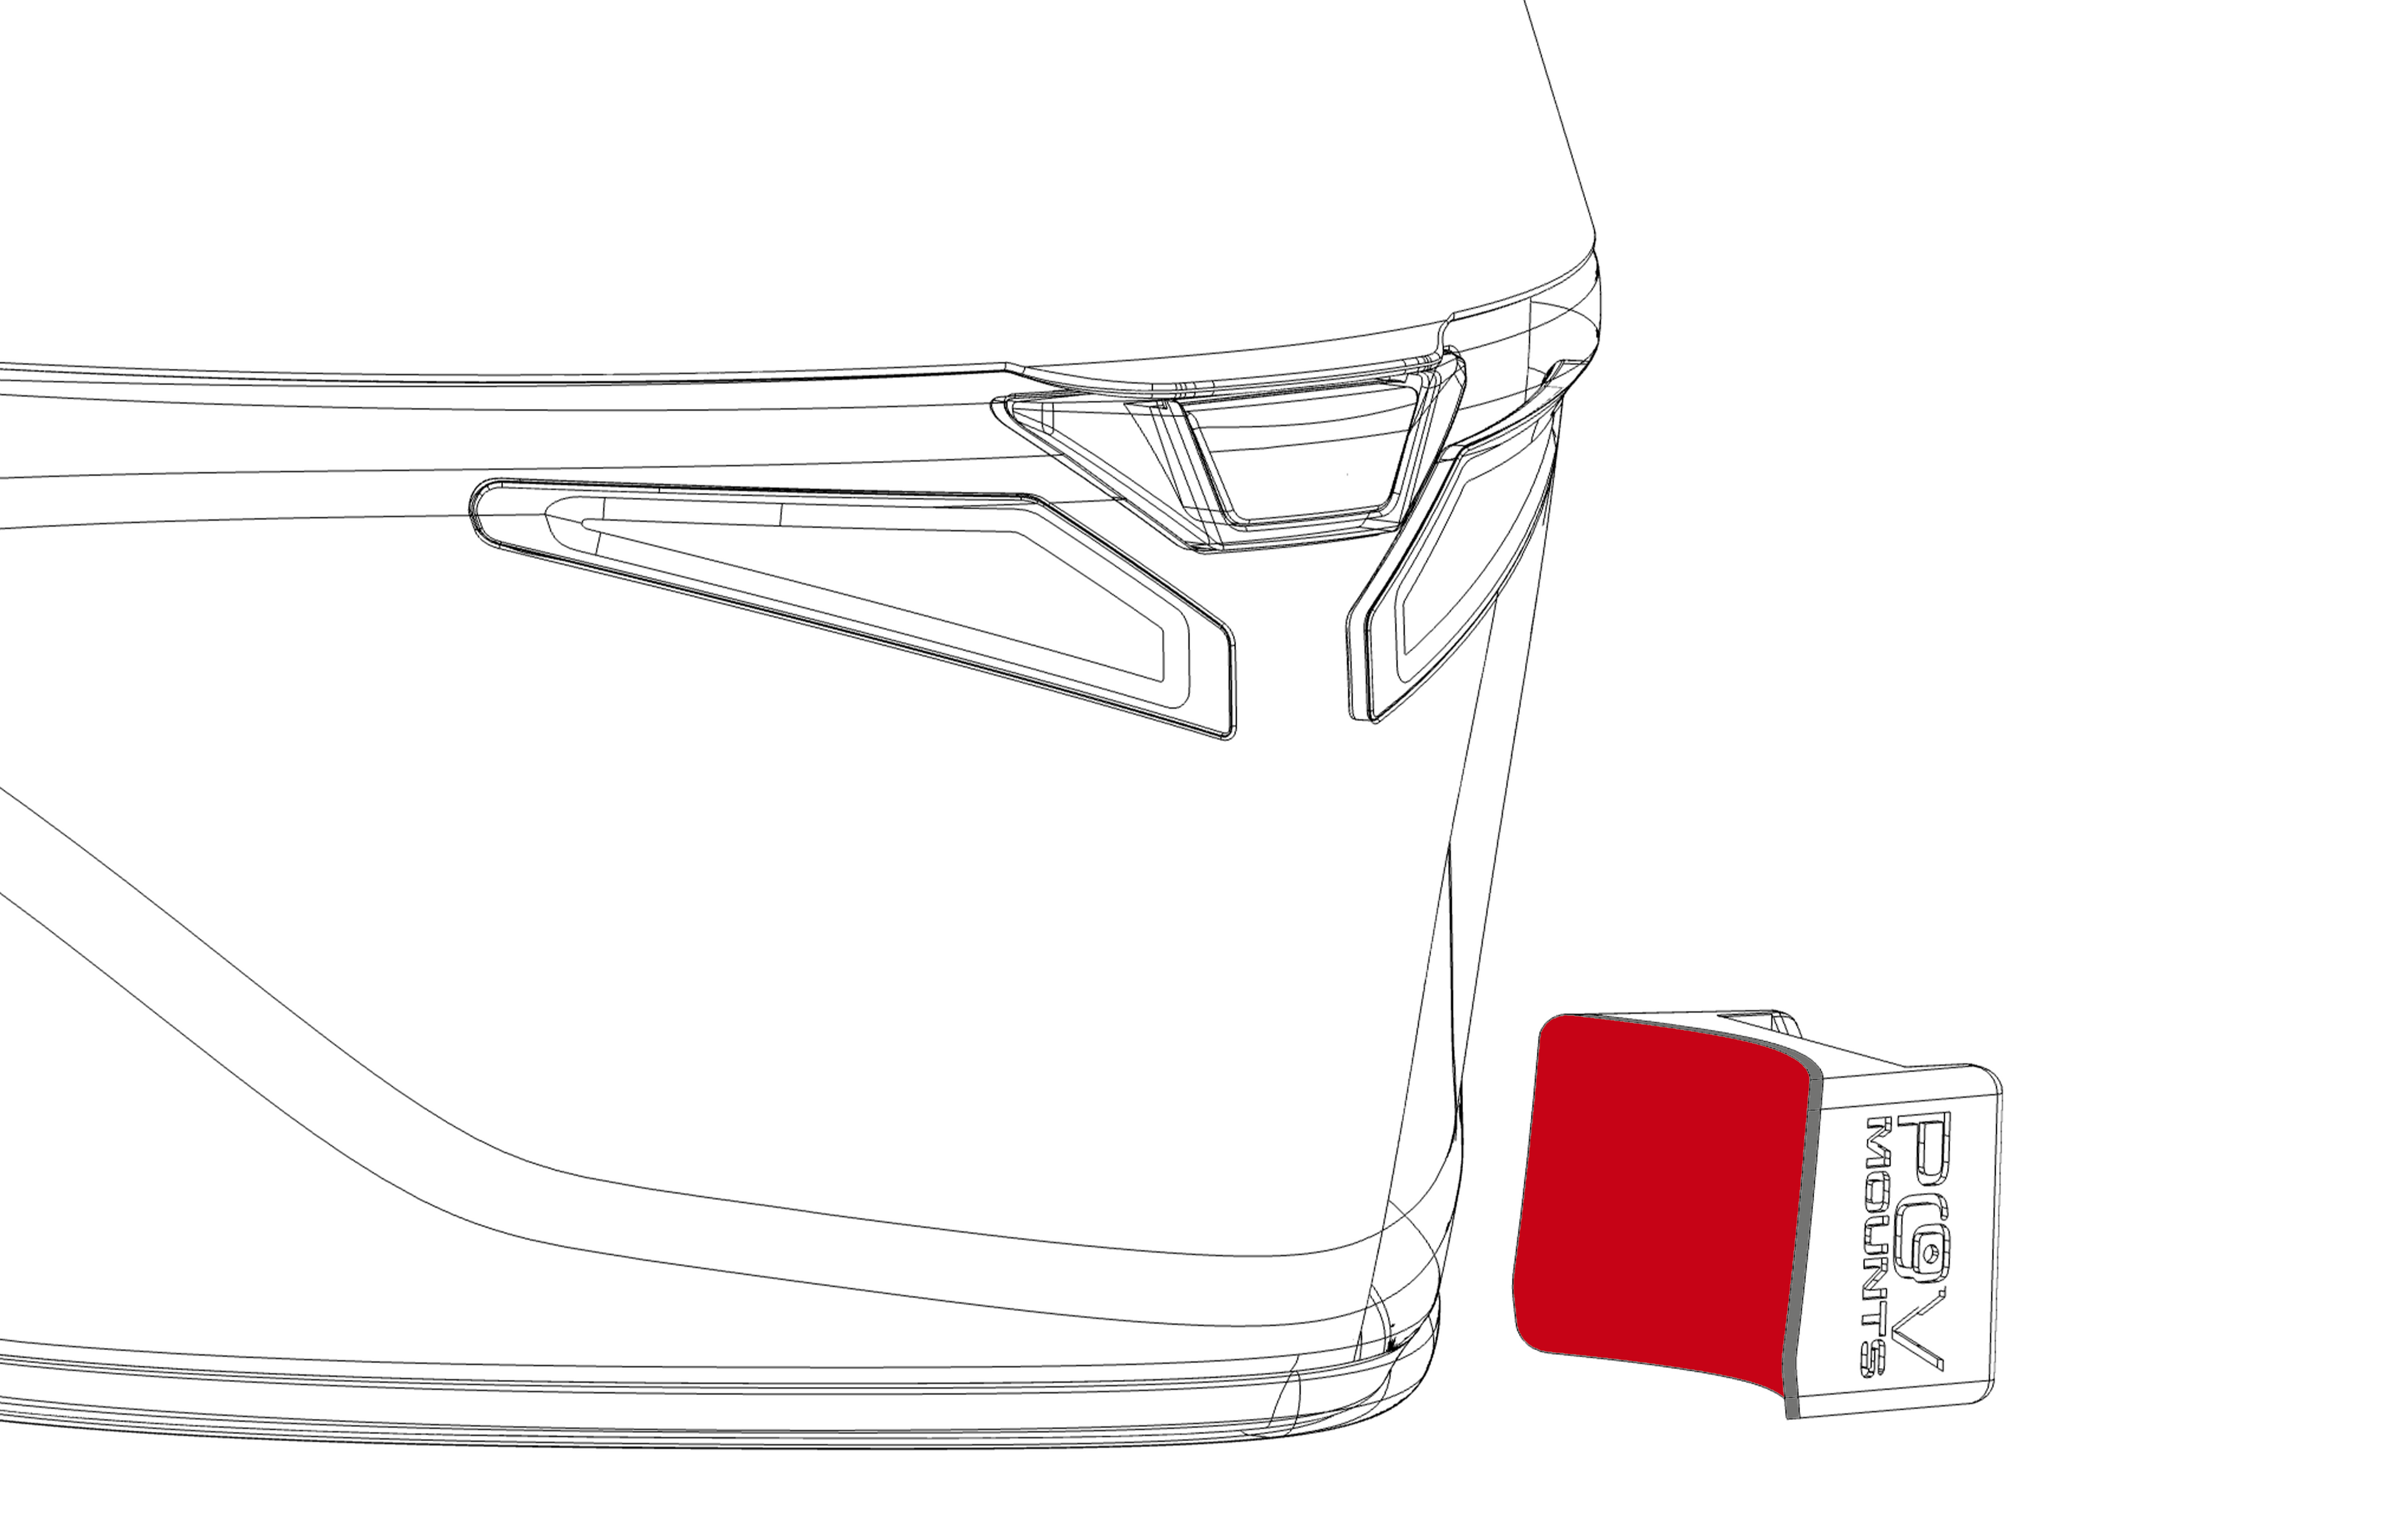
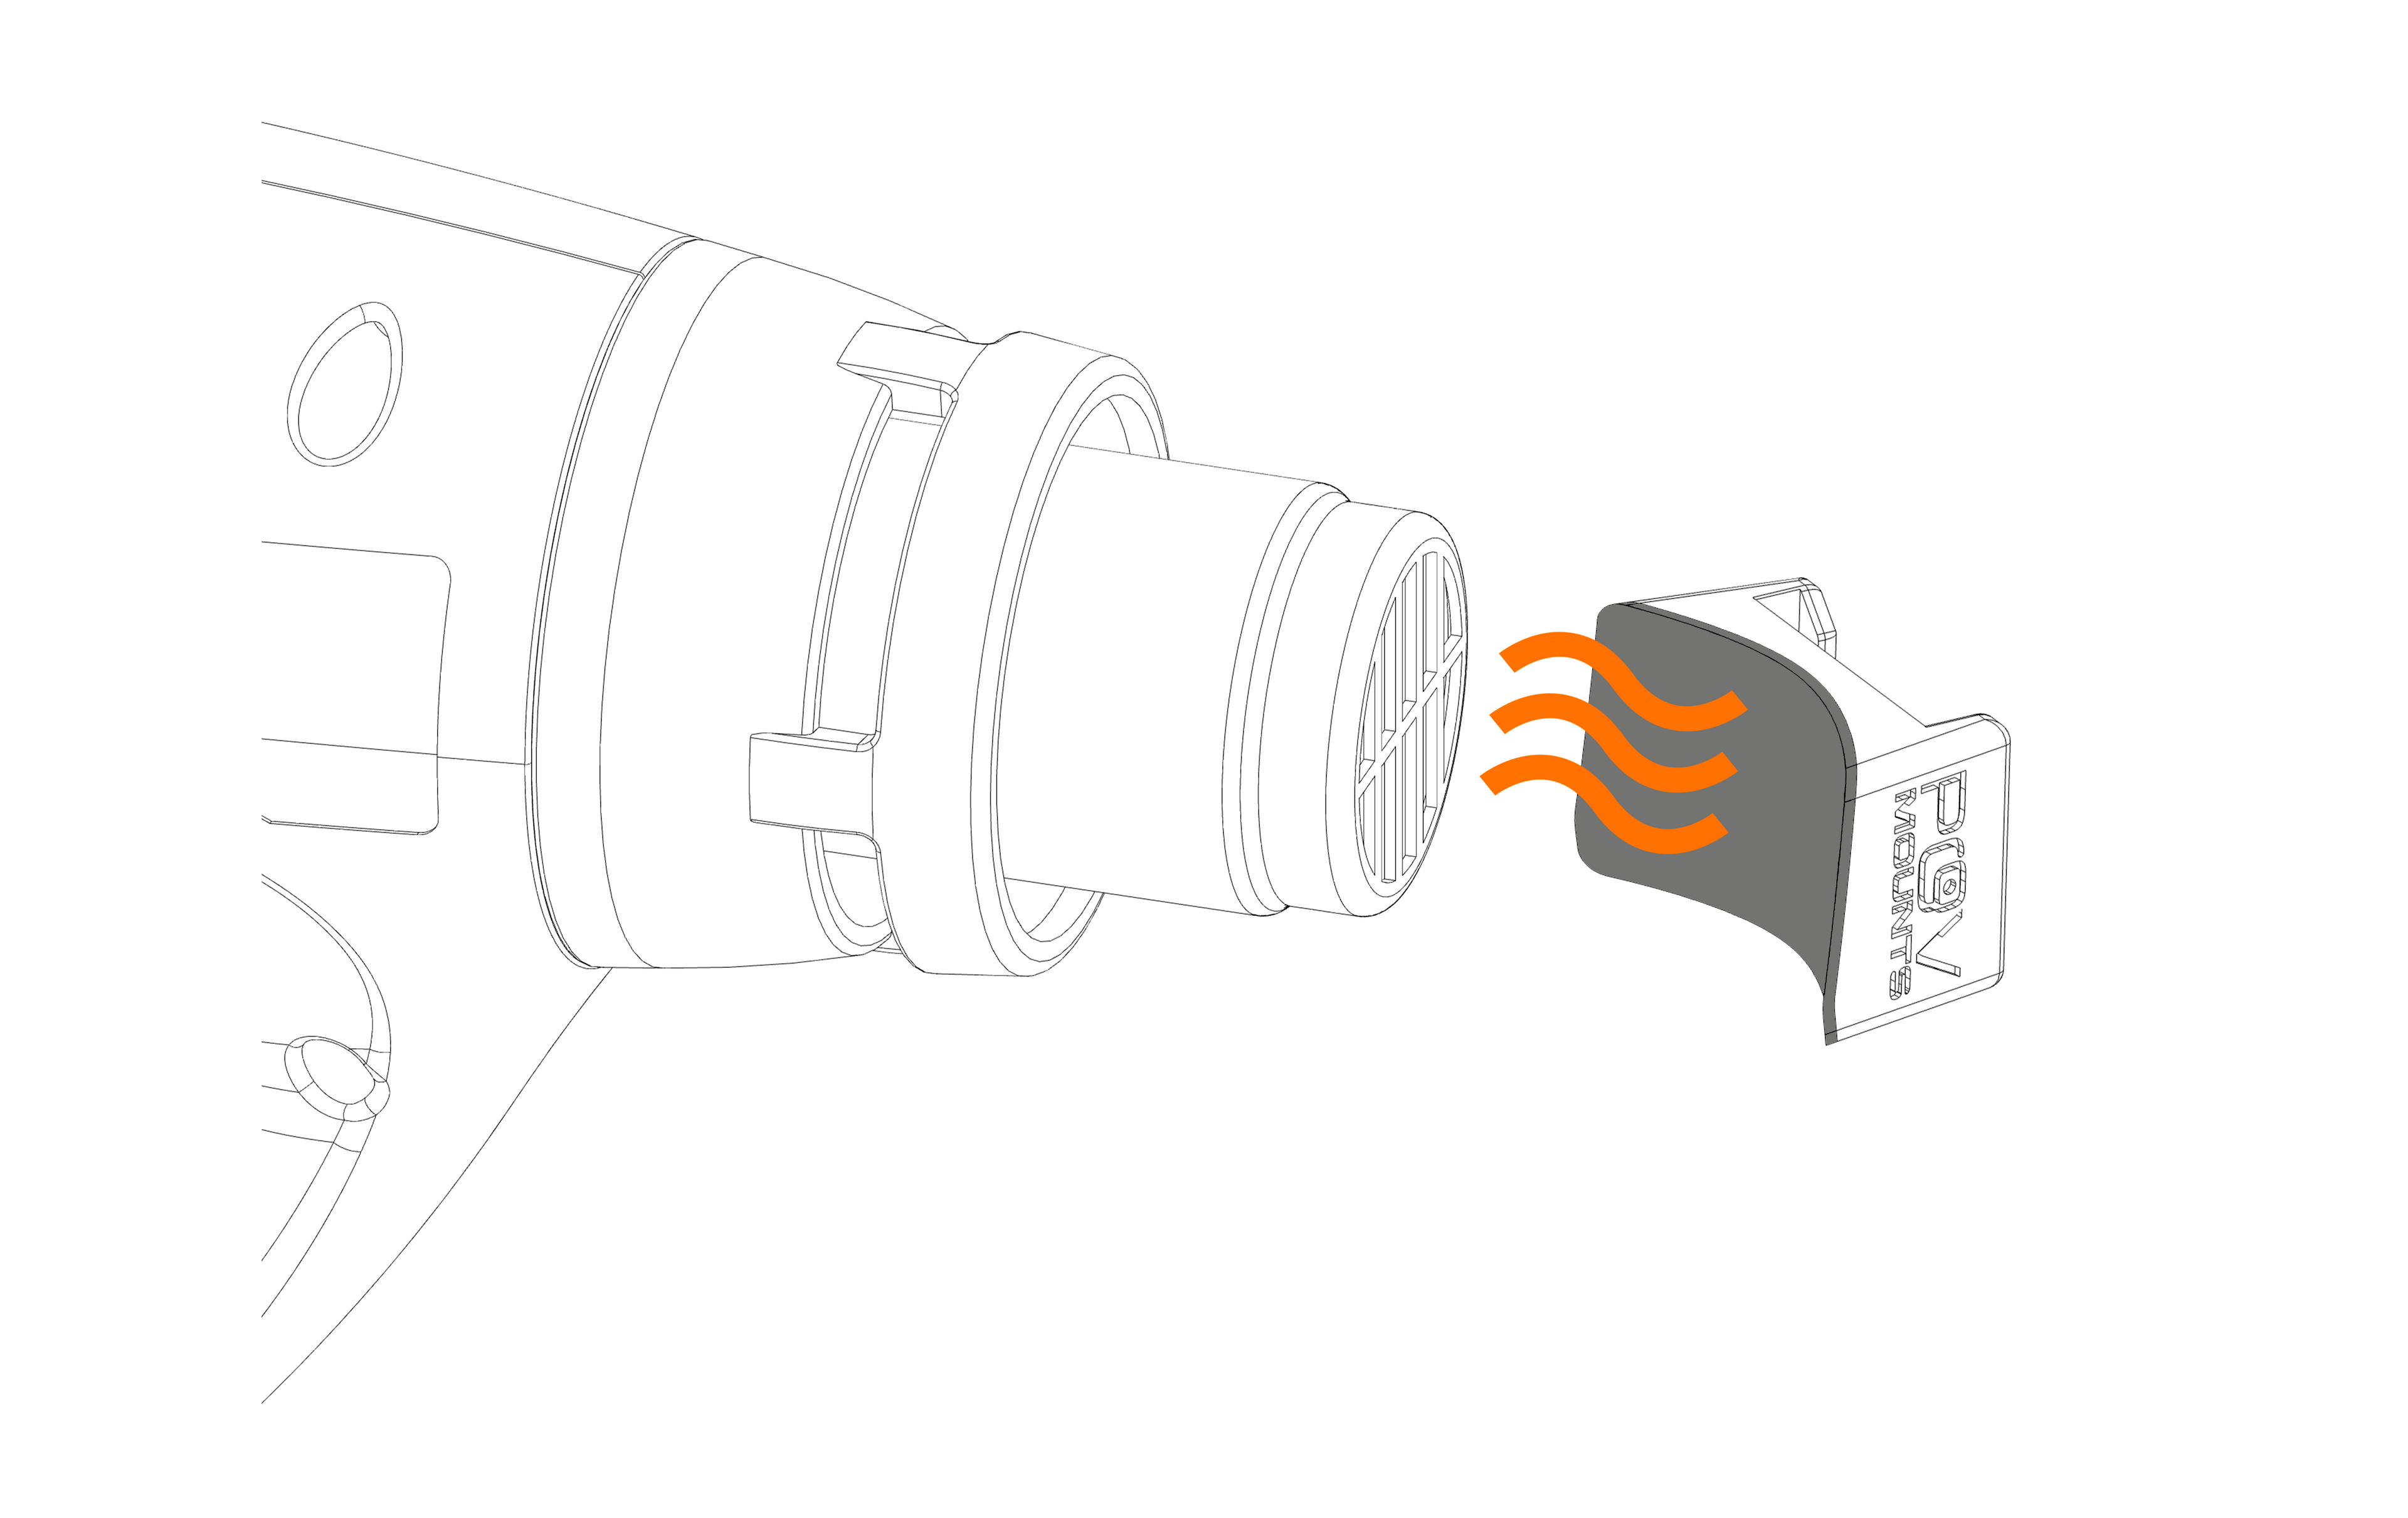
Step 3
⚠️ Applying the adhesive while cold does not guarantee its perfect adaptation to the surface of the helmet.
✅ Heat the adhesive's surface moderately to soften it, obtaining an optimal fit with the chin guard of the helmet.
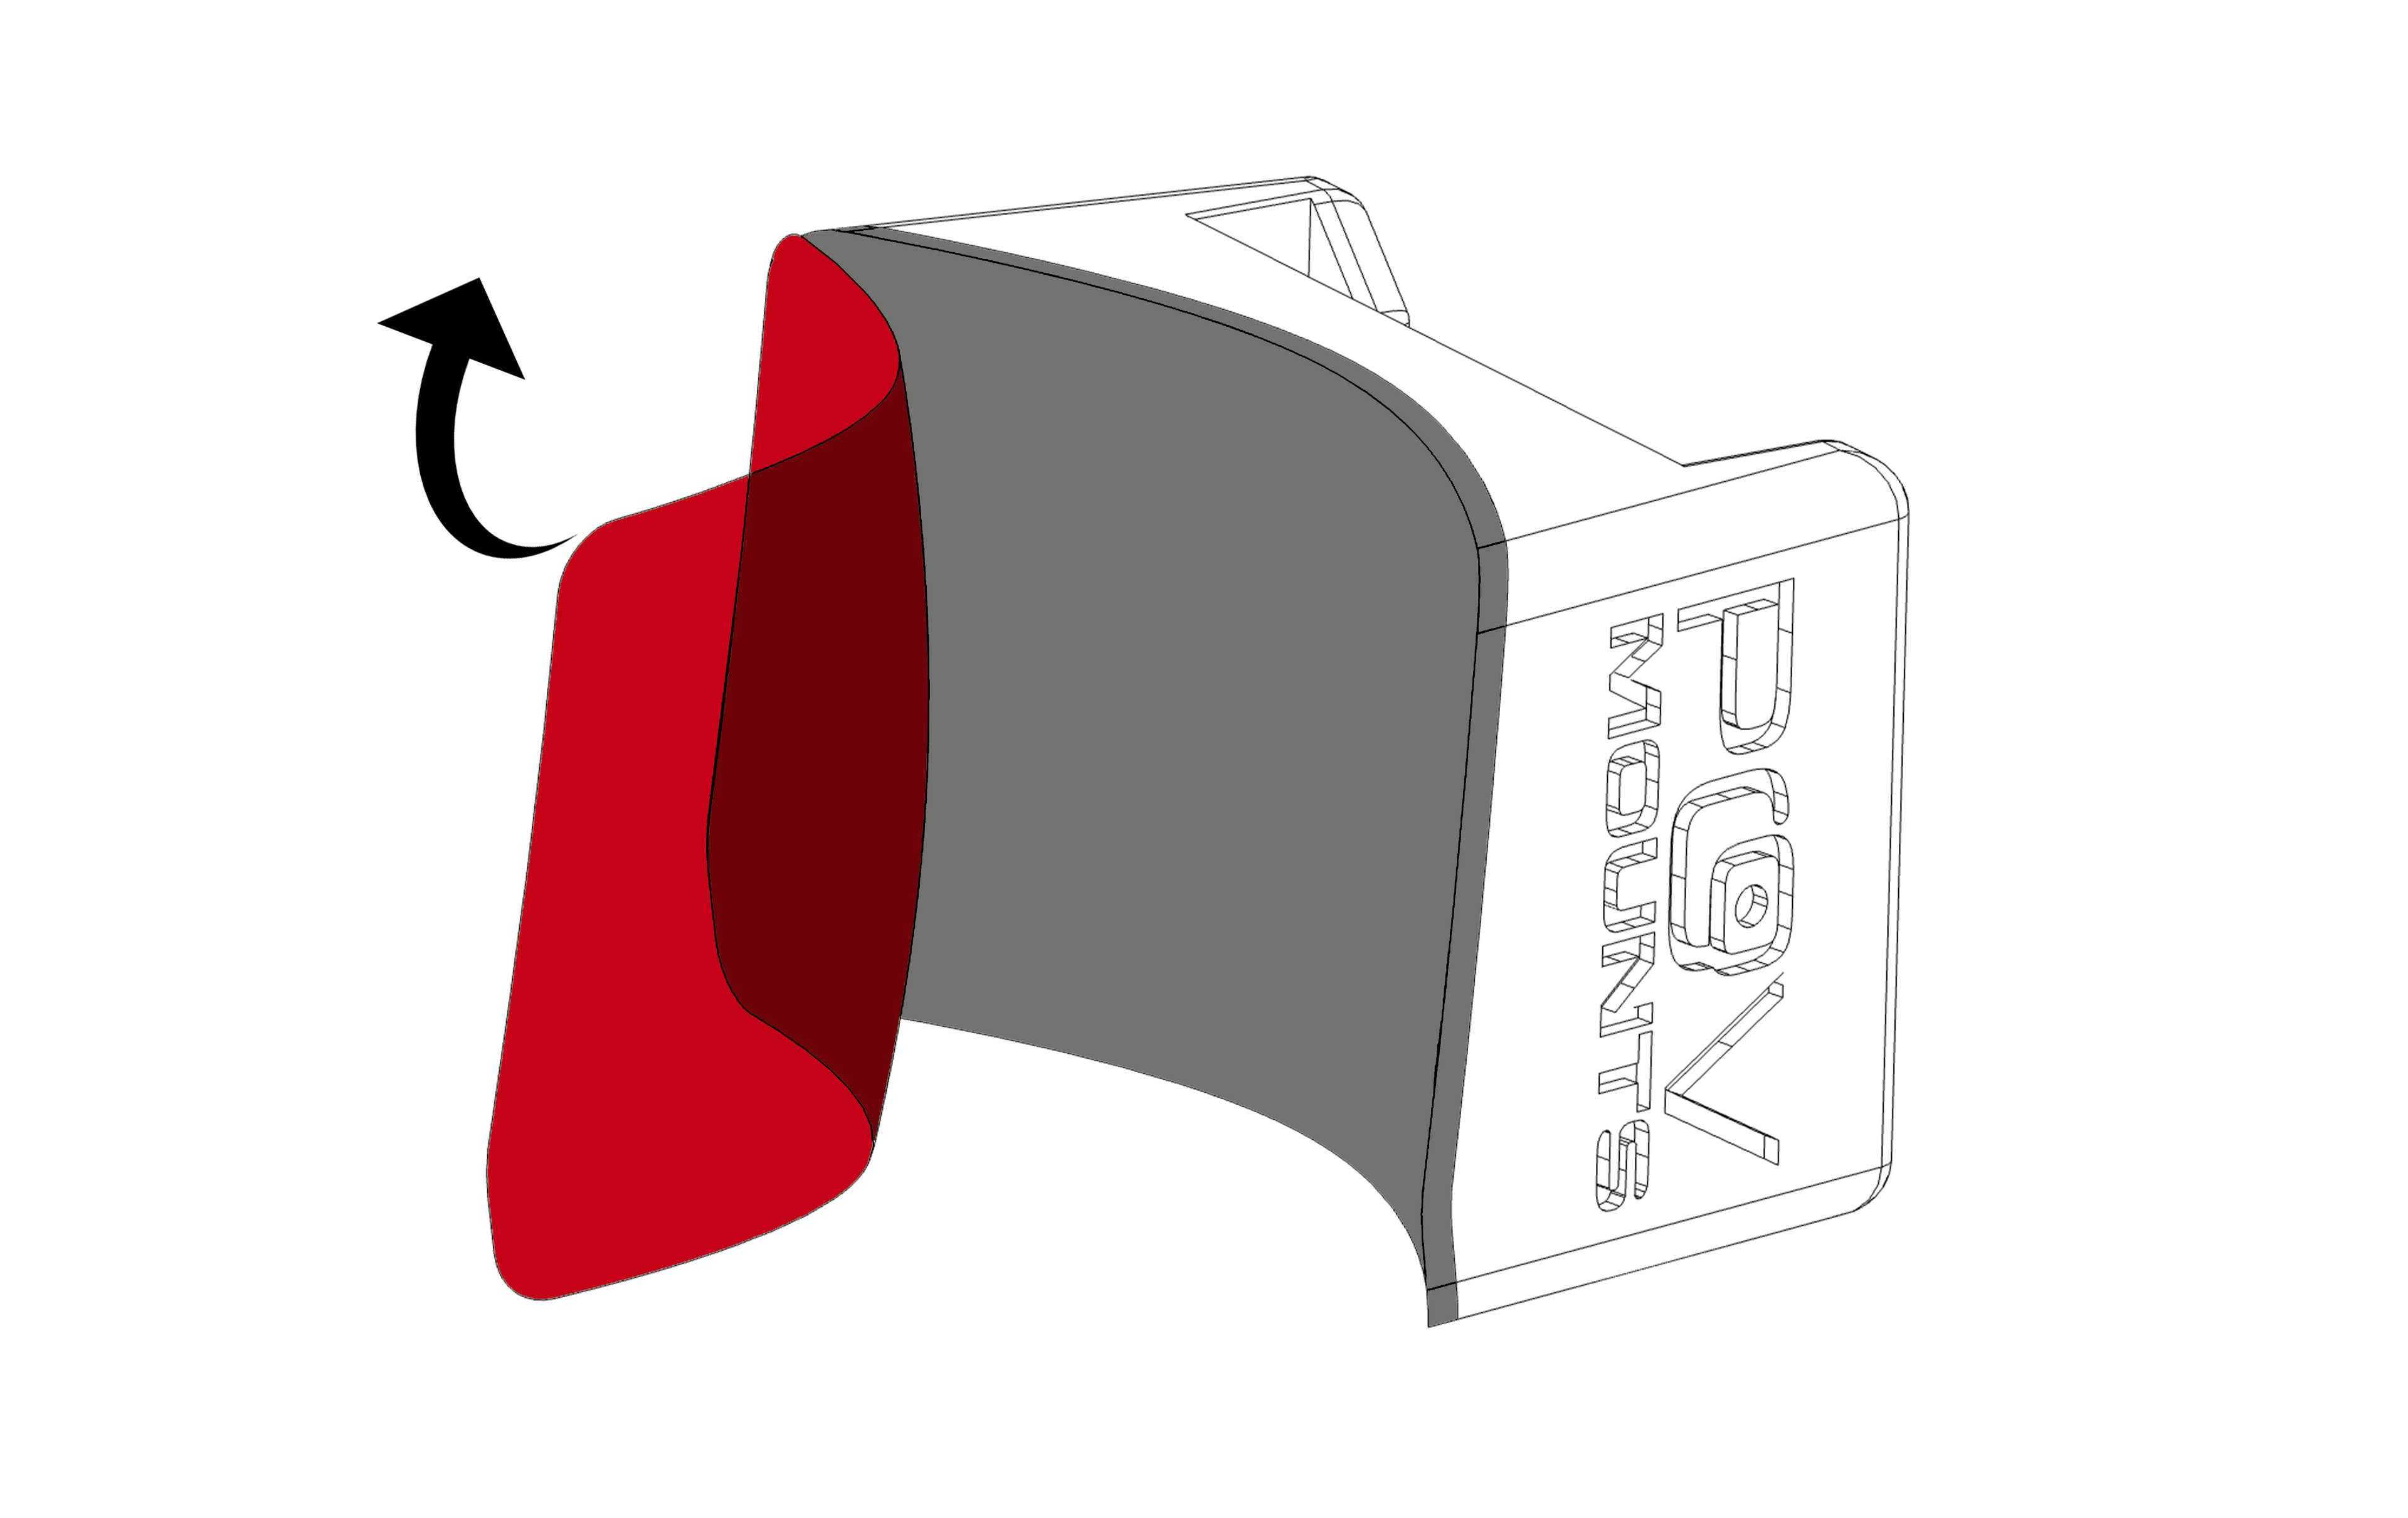
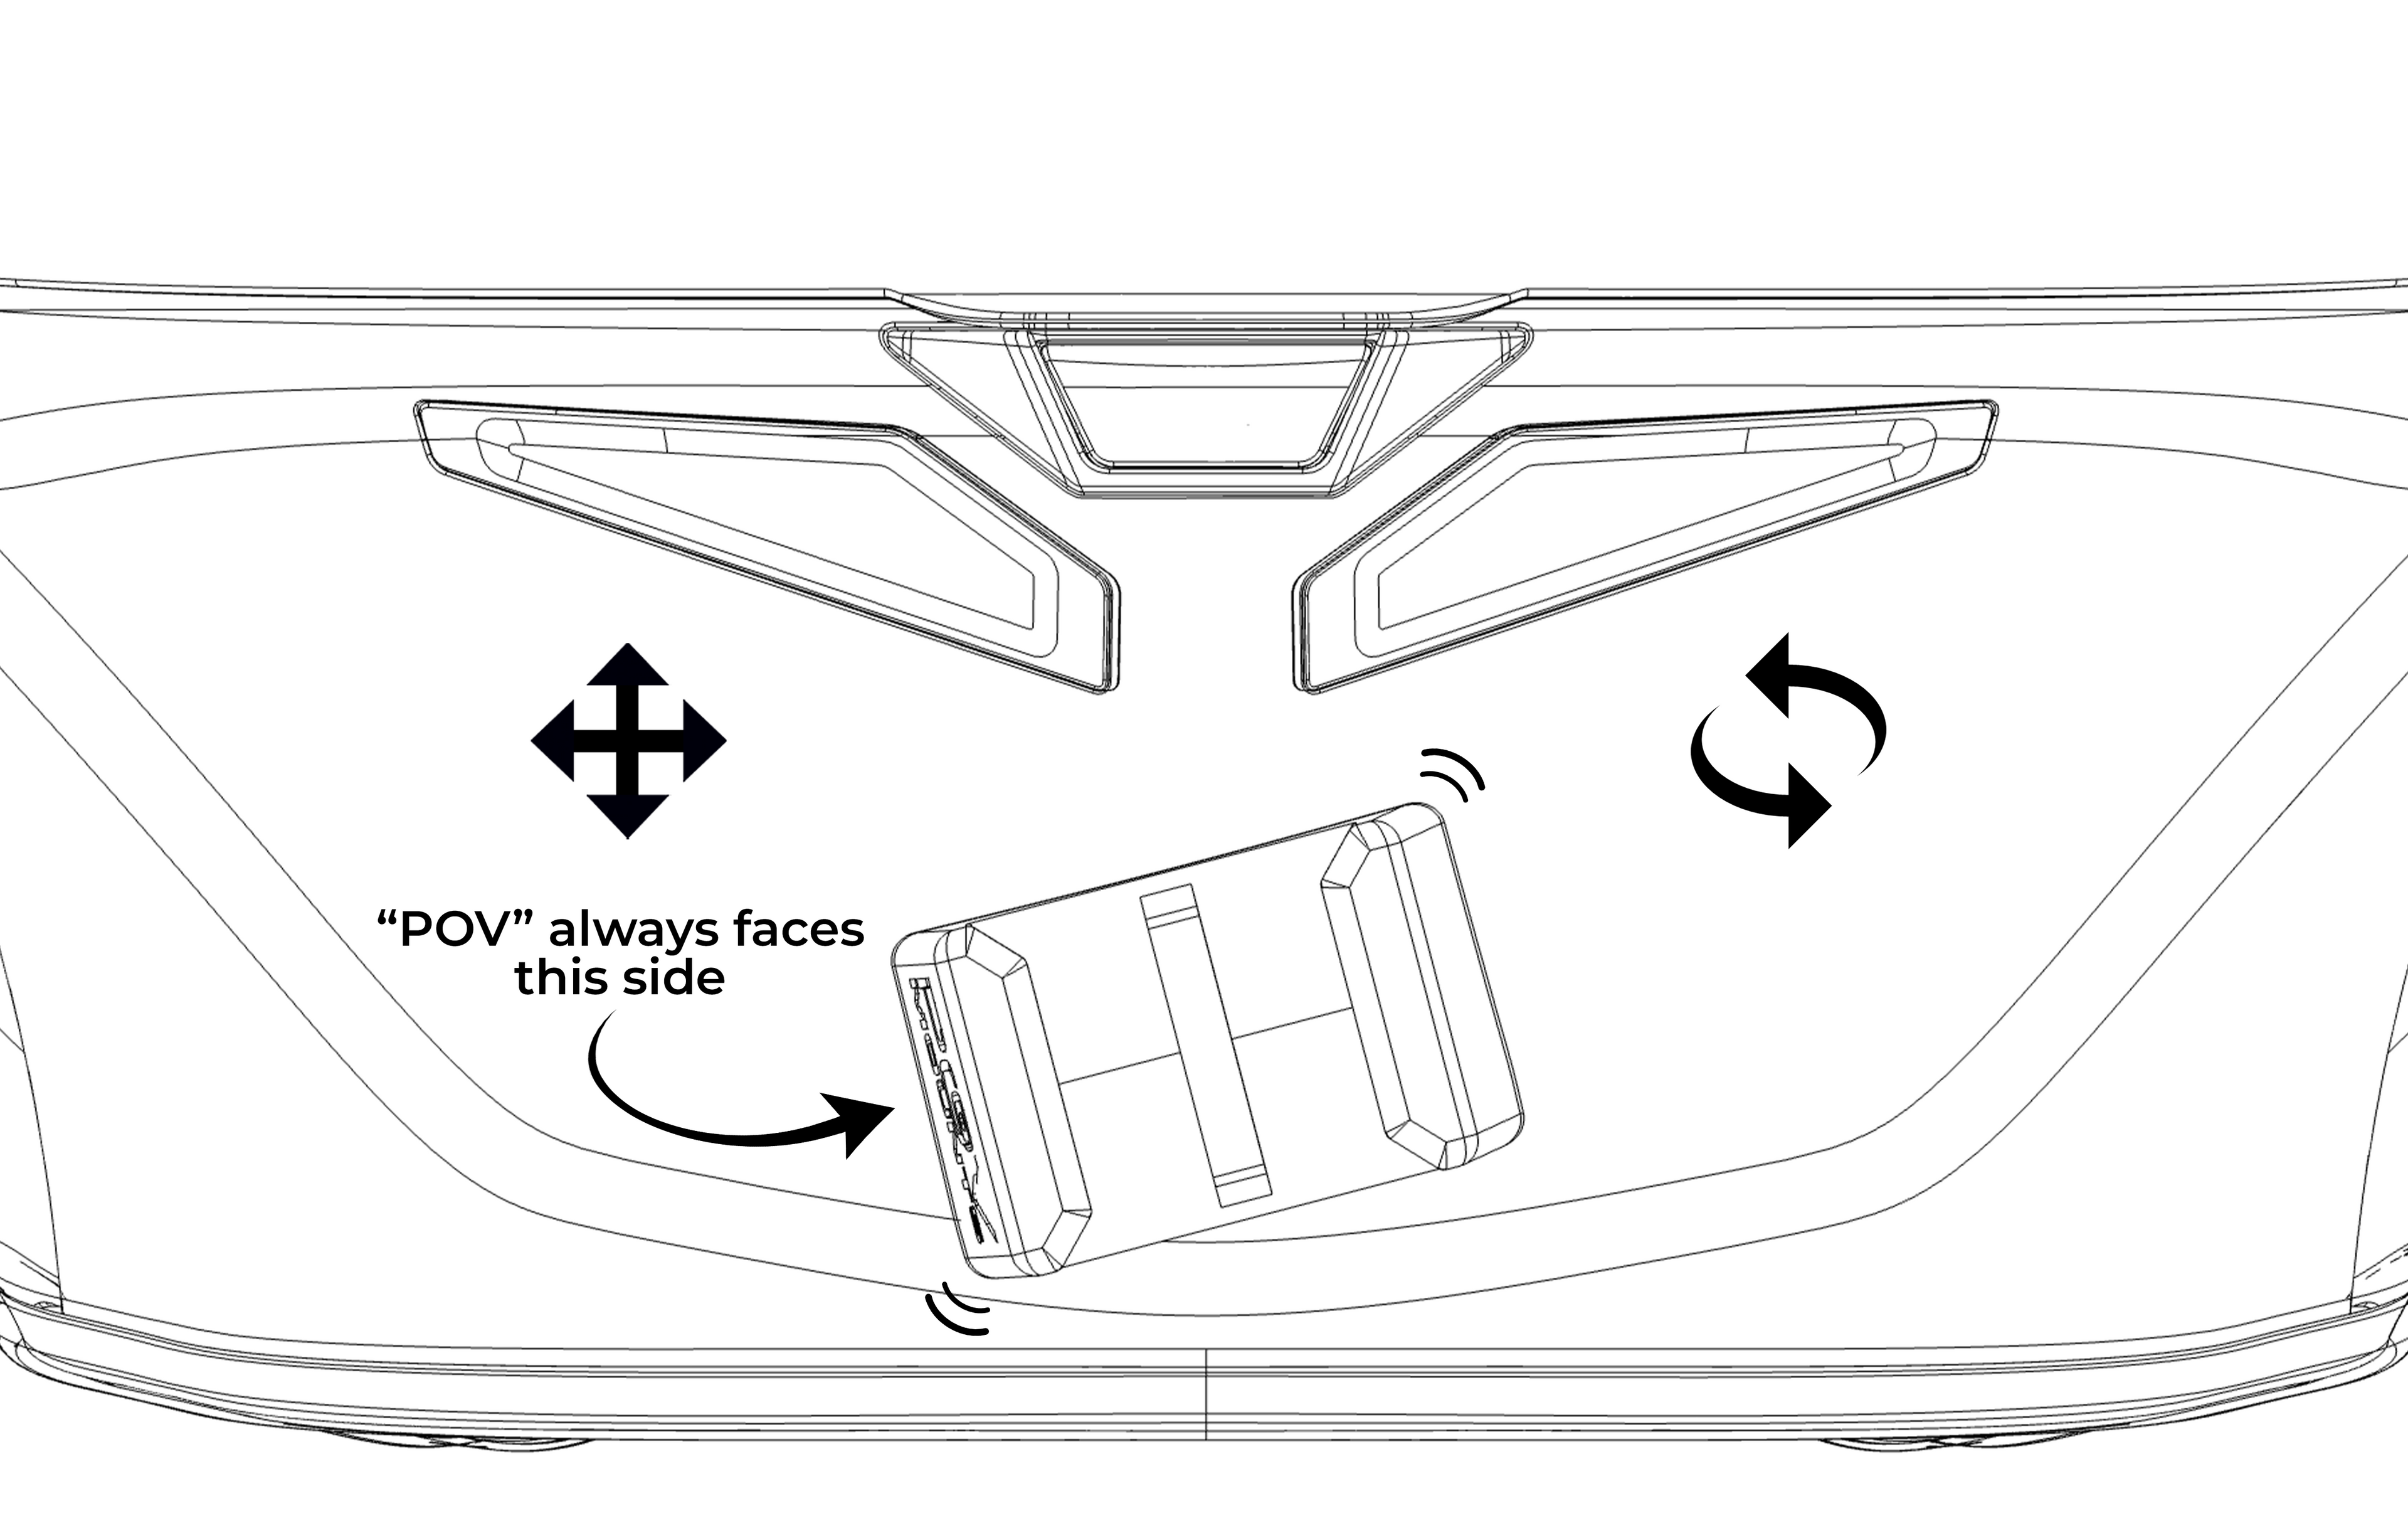
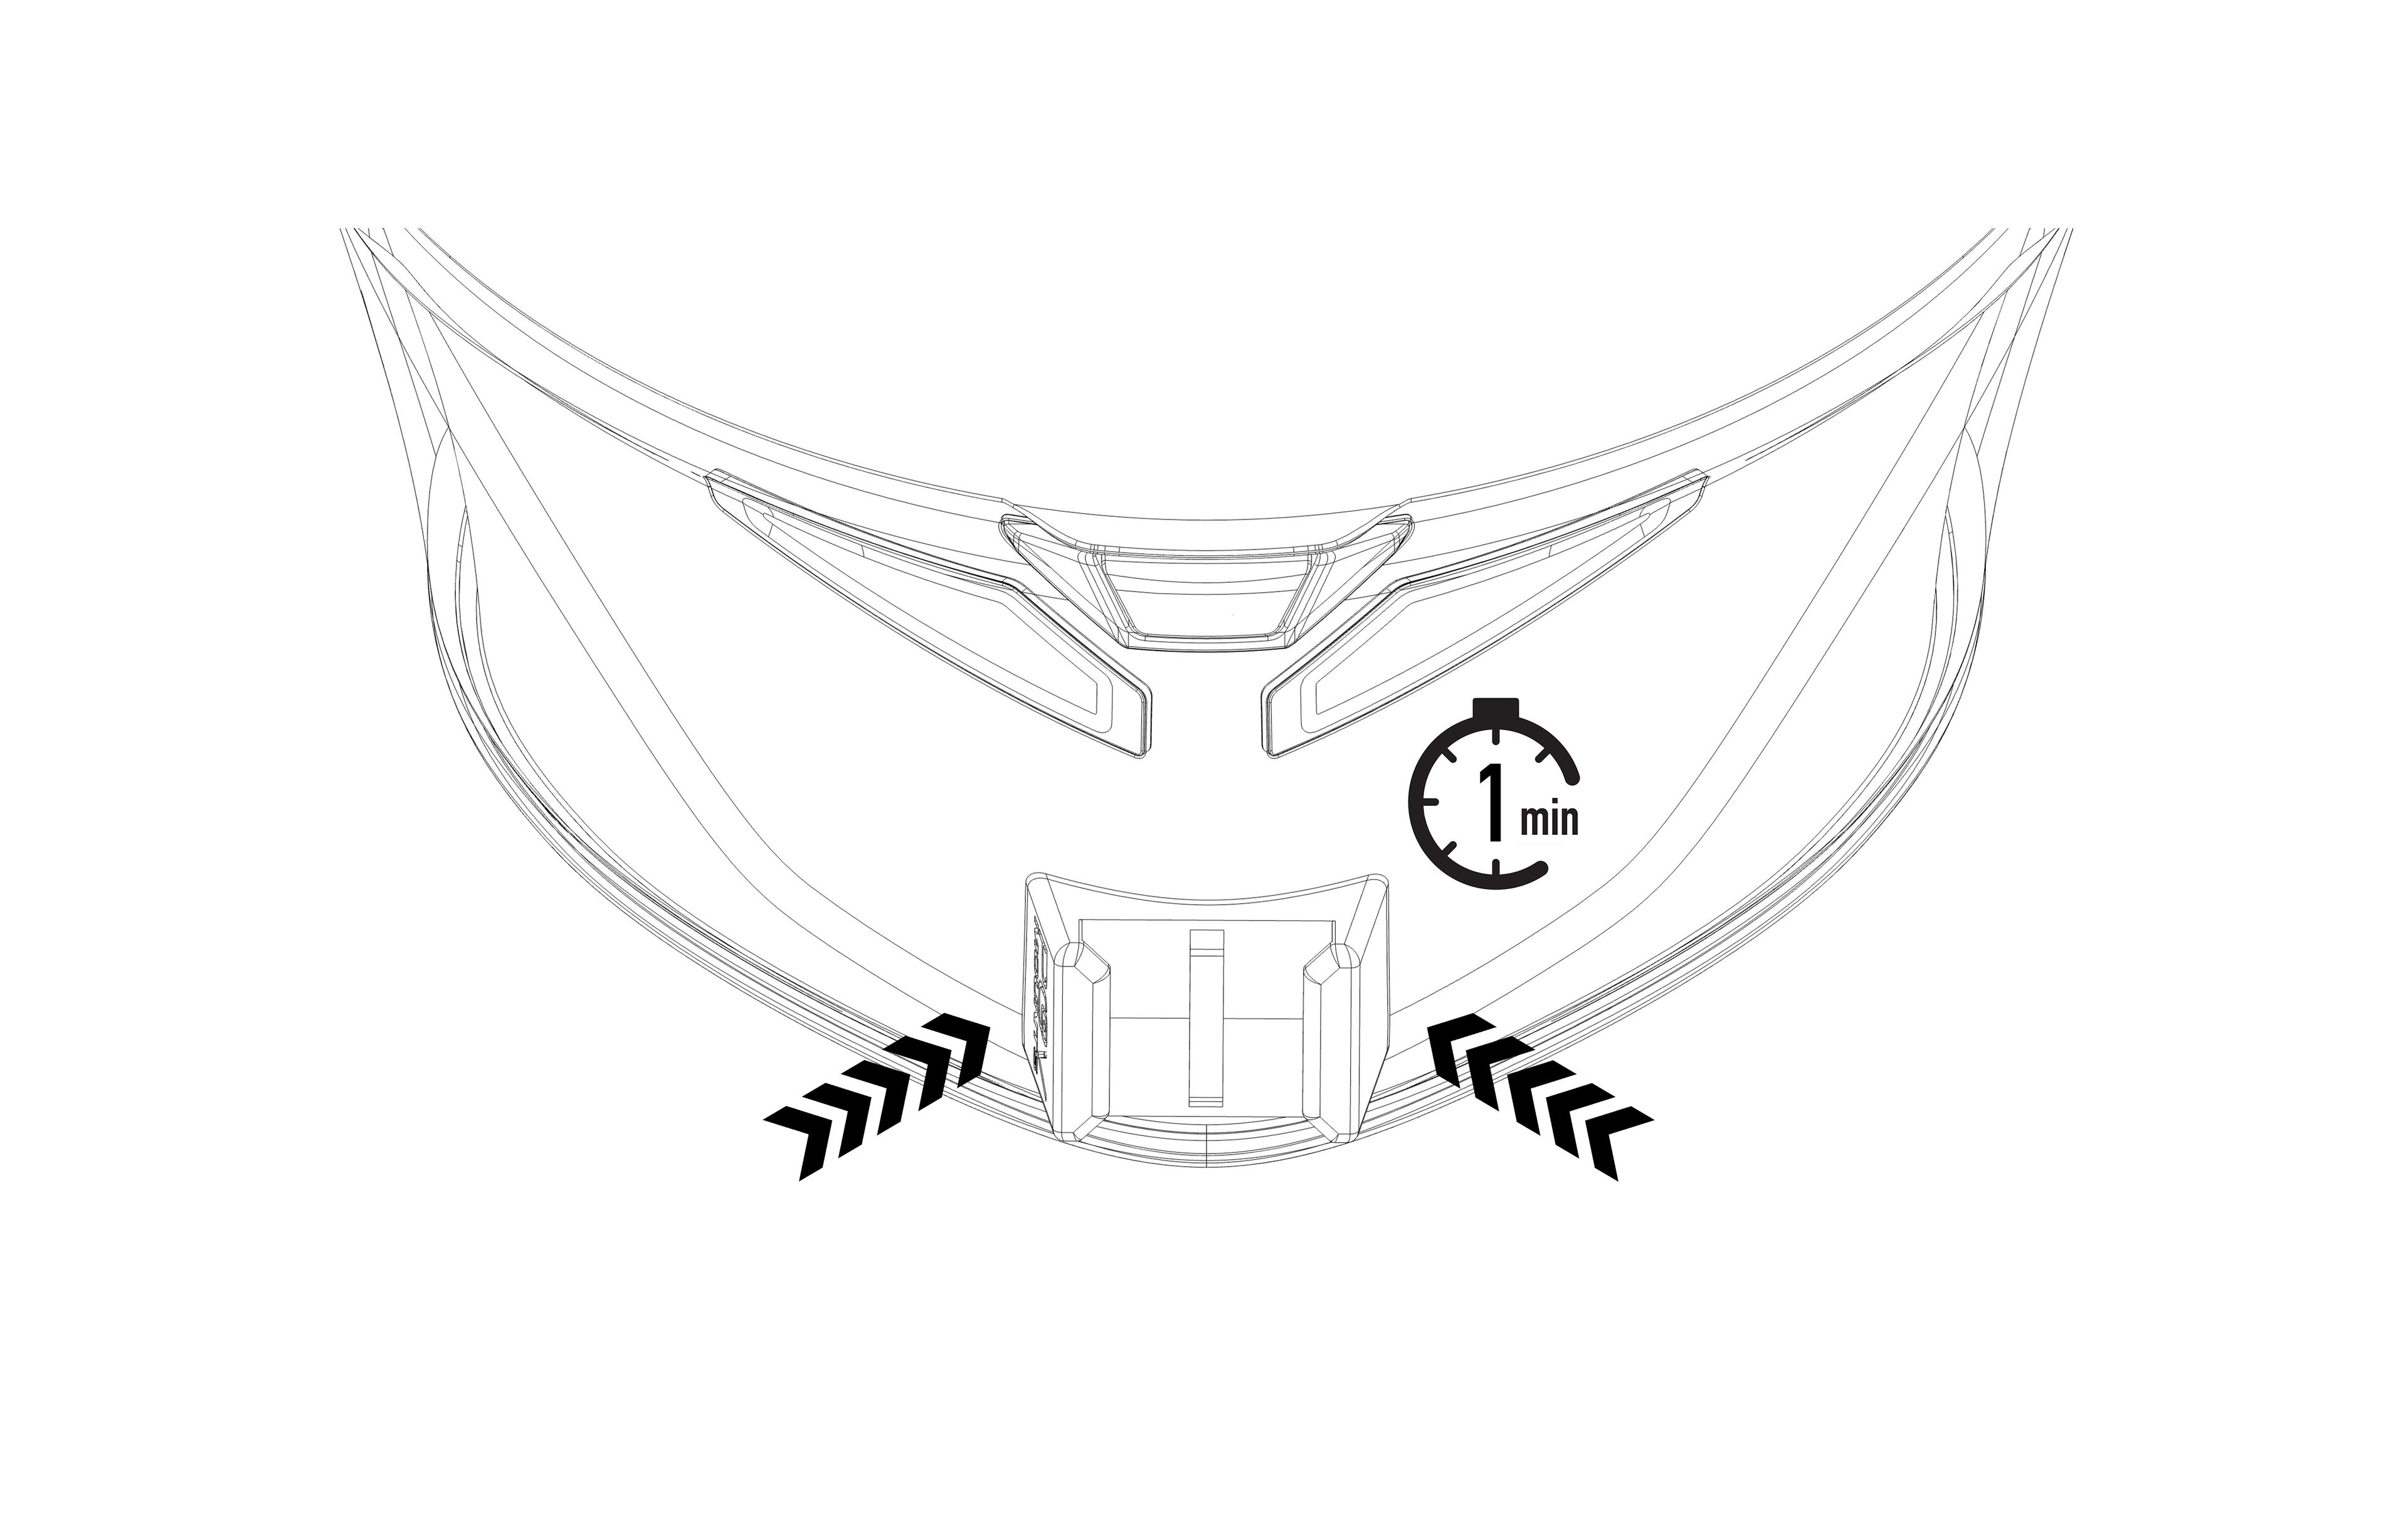
Step 4
⚠️ Once pressure has been applied, it will no longer be possible to reposition the mount.
✅ Place the mount lightly and, once satisfied with the position, apply pressure for 1 minute.
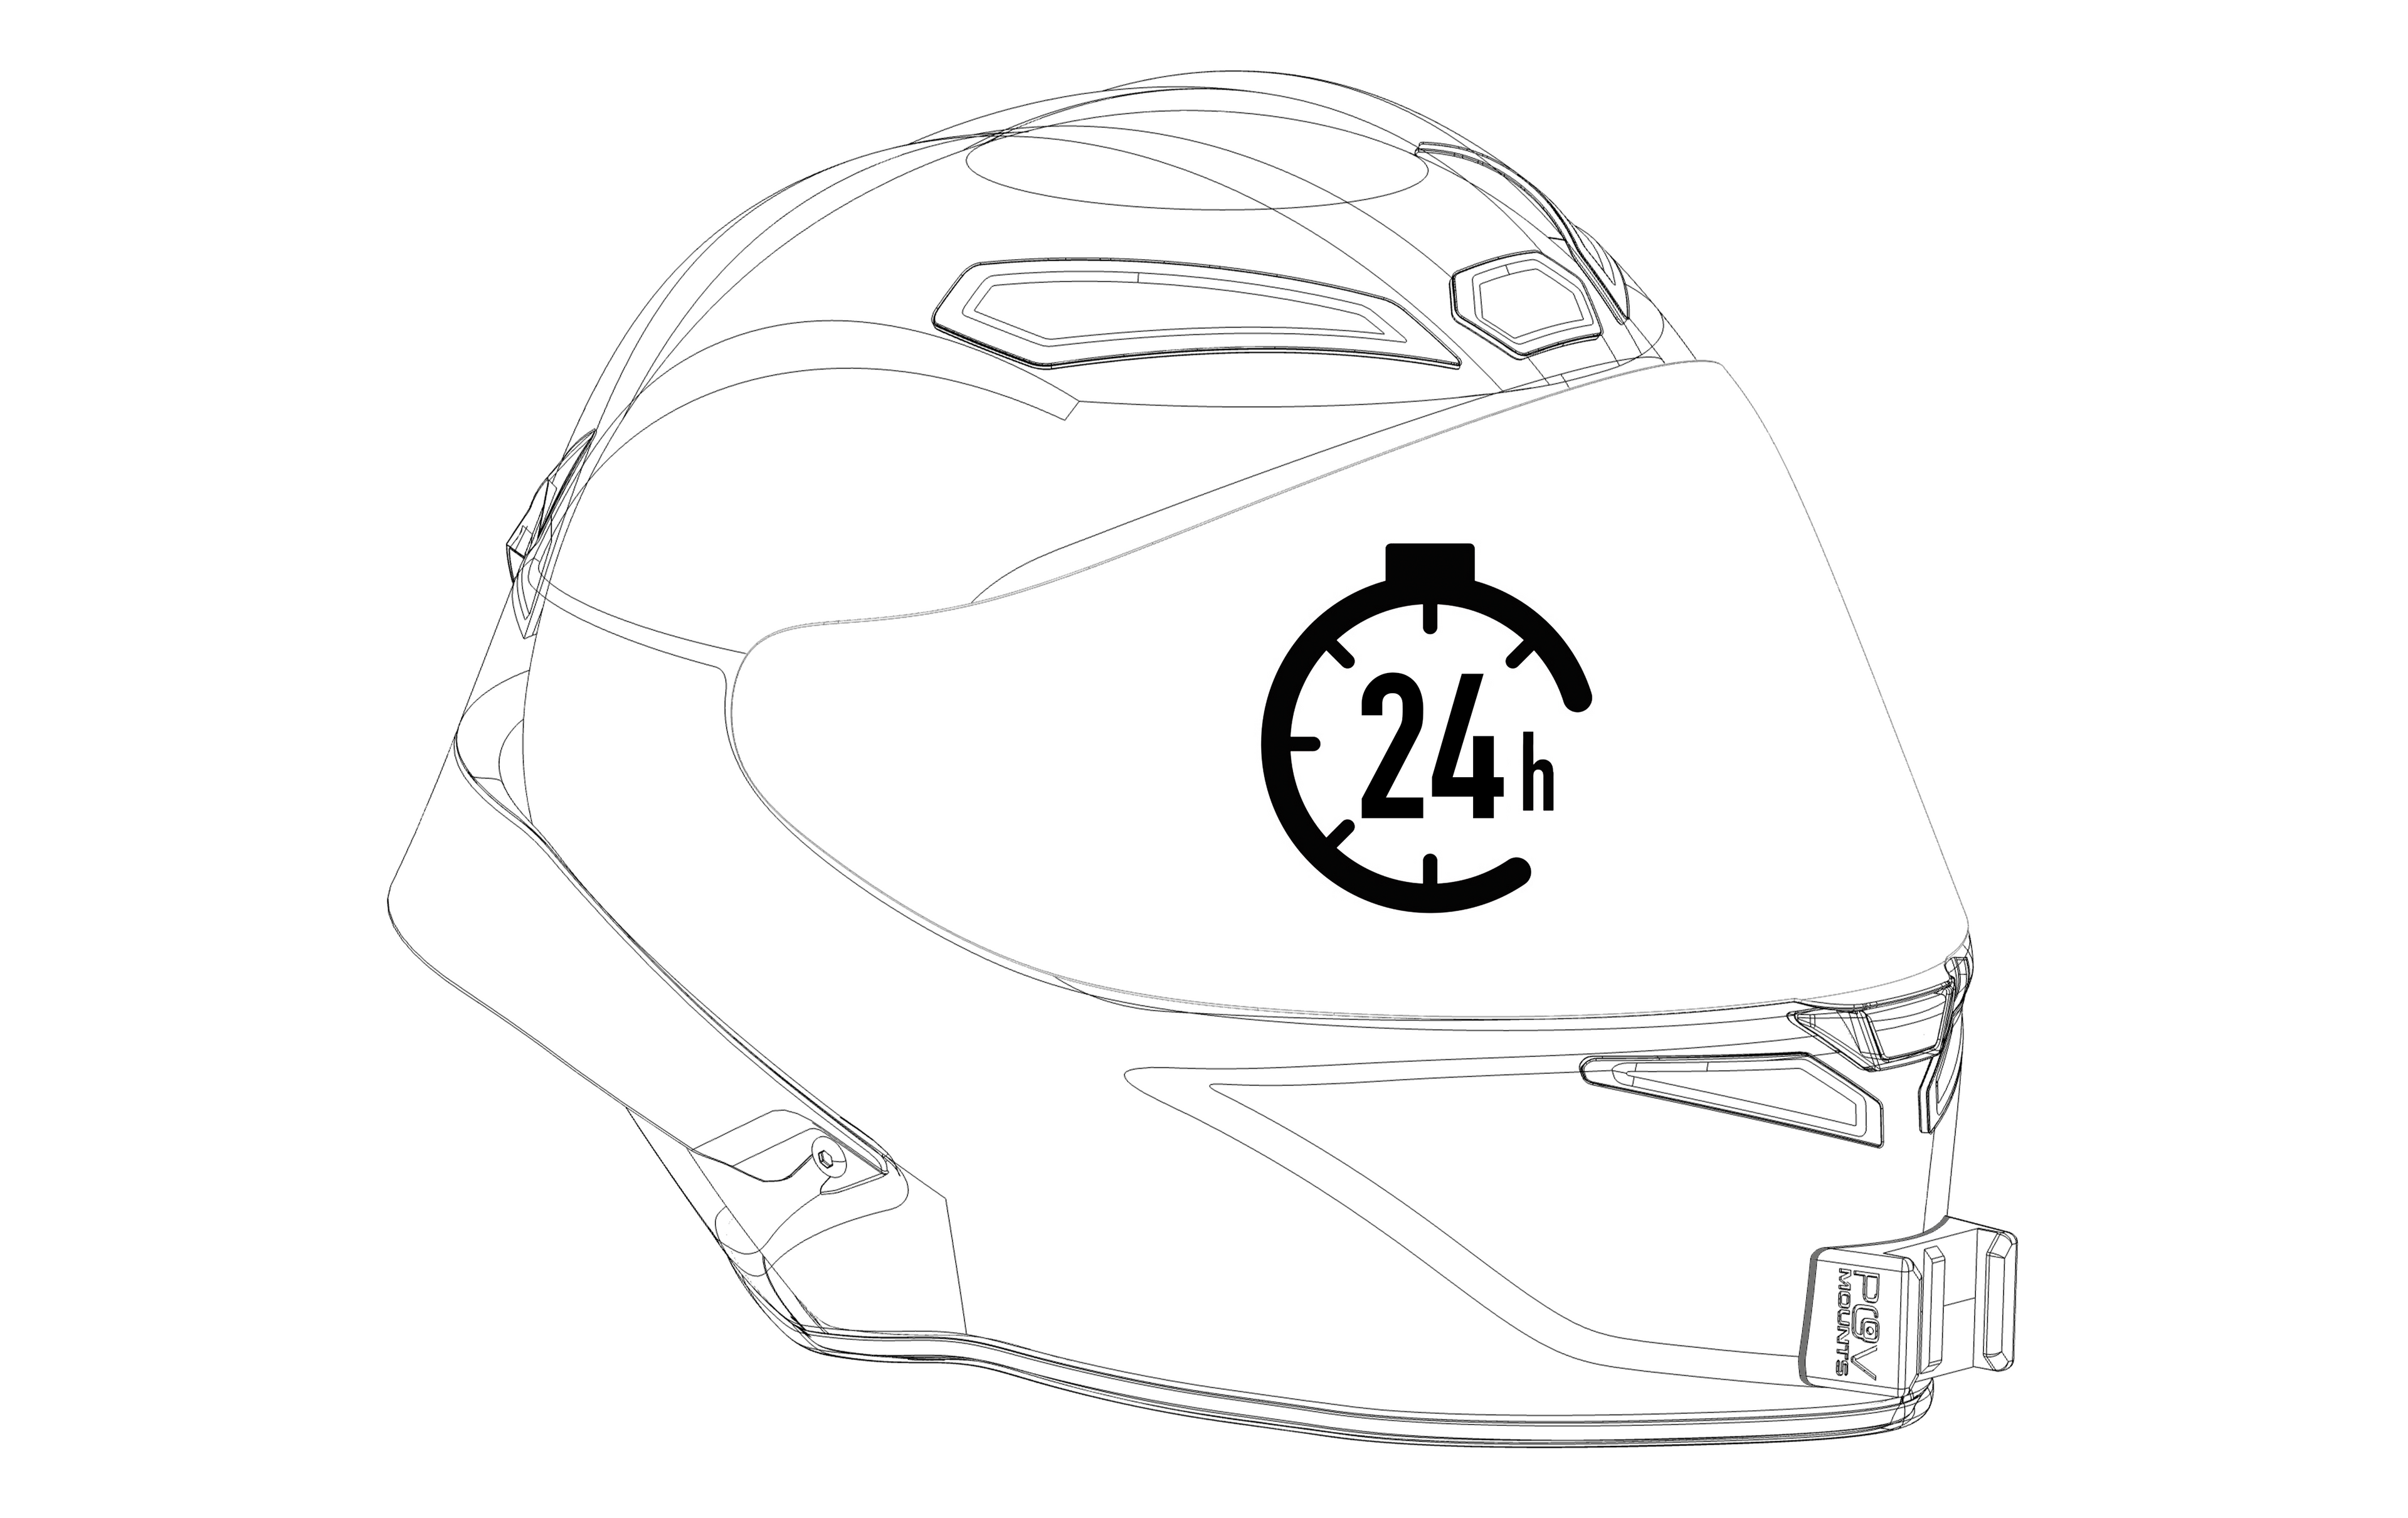
Step 5
⚠️ Using the mount before the 24hrs period could compromise its adhesion to the helmet.
✅ Allow the adhesive to complete its setting time. You can regularly use your helmet during the 24 hour period without attaching your action camera.